Showing posts with label challenge. Show all posts

August 28, 2020

Metropolis + A Repurposed Challenge

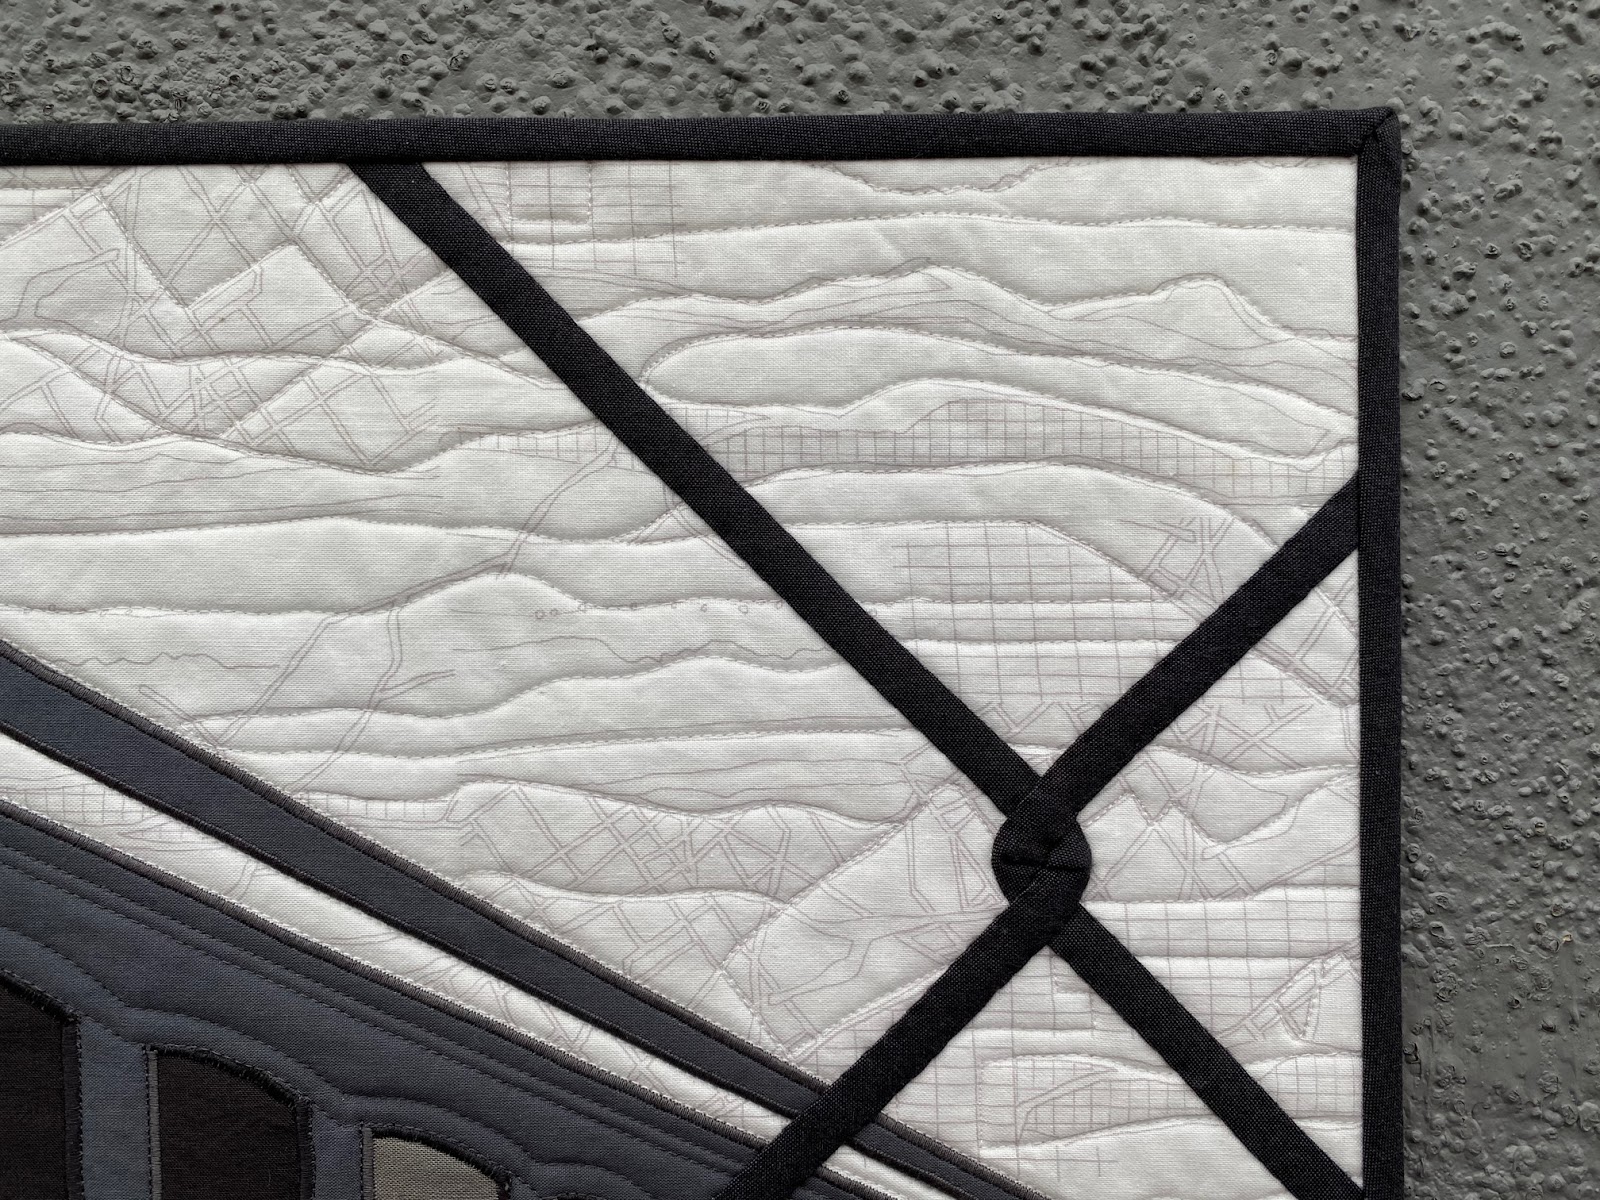
Back in January, the Greenville MQG announced the theme for its annual guild challenge..."Re-Purposed".  I had the idea of using men's chambray shirts and set out to shop thrift and second-hand stores for chambray.  Metropolis is the result.


The rules for the "Re-Purposed" challenge were as follows:

  • At least 50% re-purposed fabric such as clothing, vintage blocks, sweaters, woolens, etc...
  • May be a quilt, wearable items, totes, purses, pillows etc.
  • No size restriction but recommended 60' max.
  • Must be three layers and quilted - top/batting/backing.
  • Item should be of MODERN design.

Design Inspiration


Not only did I have the challenge of using recycled or repurposed fabric, I needed a design.  I had taken a photo of some buildings in downtown Los Angeles while on the freeway back in 2018 on the way to Quiltcon in Pasadena.  One day, I knew I wanted to use these buildings as inspiration.  After research, I found that the buildings are part of the Metropolis Condominiums which also inspired the name of my challenge quilt.  


Fabrics


In the hunt for chambray, I stopped in thrift shops and one particular second-hand shop if I happened to be passing by while out.  I always browsed the men's shirts first by starting in the XXL section and working my way down to small.  After all, the bigger the shirt, the more usable fabric the shirt contained.  I checked the tag for fabric content and left it behind if it contained polyester (unless it was a color I couldn't leave behind like the light peachy orange shirt).


At first, I purchased a few shirts not knowing what colors I really wanted or how much of any particular color I would need.  I washed and deconstructed the shirts and made a swatch ring from the cuffs of the shirts.  I carried the swatches with me while shopping for chambray shirts.  Blues were definitely more common but there were many shades of blue out there.  I ended up finding a particular striped shirt that led to the colors used in the quilt.  


Back to the design...

At first, I just used notebook paper and sketched until I had a rough idea of the direction I wanted to go and then switched to graph paper.  I knew that I wanted to add the darker strips for contrast beside the staggered lines and to create, sort of, shadows.  

I did not want the colored lines to have any seams, so I measured each shirt to determine the longest strip that could be cut from each and kept that measurement in mind while sketching.  

Graph Paper

The strips for the background and staggered lines were all cut the same width and to insert the smaller darker strips meant I had to do partial seaming in each section of staggered lines.

Partial Seams

I started piecing on the left side and worked towards the right.  You can see on the section where there were four staggered lines, that meant more partial seaming.  The piecing took much longer than anticipated but did go smoothly according to the drawing.  


The blue background strips were cut from two different shirts of the same brand.  One shirt was worn more than the other and created subtle differences in the background.  I was careful to distribute the lighter strips evenly across the quilt.


Layering and Quilting


I decided to add the logo as a little signature at the bottom right.  Below, the top has been pieced and I am layering the top, batting and backing.  I did edge stitch the quilt top all the way around because the chambray frayed something awful. 


I pin basted all the layers together.  I knew I would be stitching in the ditch on the colored strips so I avoided the seam lines while pinning.  


The fabrics for the quilt top and binding are 100% recycled fabrics from seven men's chambray shirts. 


I did purchase the backing fabric and keeping with the chambray theme, I chose a Peppered Cotton in Parrish Blue.

The binding was made from just two shirt sleeves of one shirt which were strategically pieced together and then the strips were cut on the bias.  


For the quilting, it's all straight lines executed using the walking foot.  I did bury many thread tails when I changed colors to keep the same vertical lines continuing throughout the quilt from top to bottom.


After two years of wanting use those buildings a inspiration,  I was so glad to finally design a piece using the photo.  I am pleased with the outcome of Metropolis and it even won first place in the challenge.  You can see the other challenge entries here.  


Quilt Stats
  • Finished size: 51" x 60" 
  • Pattern: original design using building from a photograph as inspiration
  • Fabrics: Chambray from men's repurposed dress shirts
  • Thread: Aurifil 50wt and 40wt   
  • Quilting design: straight lines using the walking foot
  • Batting: 100% Cotton Warm & White by the Warm Company
  • Completed: July 27, 2020

Linking up with:

Thank Goodness It's Finished Friday with Kathleen at Kathleen McMusing
Can I Get a Whoop Whoop with Sarah at Confessions of a Fabric Addict
Needle and Thread Thursday with Kelly at My Quilt Infatuation
Brag about Your Beauties with Michelle at From Bolt to Beauty


May 31, 2020

A Photo Challenge Finish: Decades

The mini quilt made for the Photo to Textile Challenge, aka Mill Challenge, is finished.  You can read all about the rules and see the inspiration photo in this post.  I'm calling it Decades.


I thought making a 15" x 15" mini quilt would not be that difficult.  Oh, I would be wrong.  This was the original photo inspiration of the Woodside Mill as it was back in January.  You can see, at some point, the windows had been bricked in.


And, this is what the mill looked like back in March.  You can see the perspective is almost the same as the original photo.  Construction in progress as the mill is being repurposed into housing.  I started to use the water tower or the smoke stack as features in my quilt but ended up being inspired by the windows.  


I took the photo above and cropped out almost everything but the windows.  


Next, I skewed the photo as much as possible to change the perspective. I'm focusing on the row of windows second from the top.

  
I then flipped the image to enable me to use the light box to transfer the windows to fusible web.  My only problem here is that there are only 11 windows and I need 12, one for each decade the building had been in existence.  I took the last window, resized it and added it to the end.  


After drawing the windows onto the the fusible web, I carefully cut out the windows. 

  
I then fused the window fabrics to the building.  Technically, this would be reverse applique.  I did not want to fuse the window fabric on top of the building because I wanted them to recede as much as possible.

The mill was built in 1902 and closed in 1984.  I used the required challenge fabric Kona Grasshopper in the windows to represent each decade the mill was fully operational.  Gray was used for the decade the mill closed.  For two decades it was totally dark and now with the revitalization going on, there's new light in the last window. 


Can you see that each window was appliqued in two different grays?  I used a darker Aurifil to create shadowing on the right side of each window and later wished I had used black for more contrast.  I used a wider zigzag satin stitch on the largest winder and gradually reduced the width of the zigzag as the windows became smaller. 


After I finished the applique, I thought the quilt needed something else.  There was too much negative space.  I looked back a the photos and found this one with the chain link fence as part of the photo.  Could I really effectively add chain link fencing over the top?  


Needing a better reference, I took this photo of the gate at the bottom of the driveway.  Depending on the angle, notice the color variation in light to dark.


I used two different fabrics for the fencing.  One was a cross weave, I think a peppered cotton and the lighter fabric was a recycled men's chambray shirt.


I added some french knots to the background fabric.


I added a bias binding and because of the color changes, there are four seams in the binding.  Because of the small size, a couple of the joins were a little tight.


One one of the trips out to the Woodside mill, I took a photo of the old signage still in place.


Woodside Mill was placed on the National Register of Historic Places in 1987, three years after it closed.  I'm excited to see the revitalization taking place. 


Although it took months to decide what to do, I'm pleased with the results.


My mill challenge quilt and eight others are included in the Modern Design Lab Invitational Online Gallery from June 5th to July 29th.   

The quilts can be viewed in person by appointment at the Greenville Center for Creative Arts in Greenville, SC, starting June 17th and running through July 29, 2020.   

Since making the Mill Challenge was my  One Monthly Goal for May, I'll be linking with Patty at Elm Street Quilts.  You can see all the May OMG finishes right here.

And, linking to TGIFF - Thank Goodness It's Finished Friday hosted Quilting Patchwork Applique


May 7, 2020

A Photo Challenge

For short, I've been referring to to this challenge as the Mill Challenge.  It is challenge issued by the Modern Design Lab, a group of modern quilters who encourage each other to become better artists and designers.

Photo to Textile Challenge - Guidelines

Objective – Create a small quilt using the Woodside Mill photo as inspiration.

Size – Quilt should finish 15” x 15”.

Color Palette – Any shades of white, gray and black can be used in desired amounts along with the Kona Grasshopper.

Fabrics – Kona Solid in Grasshopper must be included in some way.  Any other solids and prints are welcome keeping the chosen color palette in mind.

Construction and Quilting – Any construction techniques may be used as long as the quilt has two fabric layers with batting sandwiched between and joined together with stitching by hand and/or machine. 


The group collectively decided on which green to use,  Kona Grasshopper. 


Background

The textile boom of Greenville (South Carolina) began around 1880 to 1890 when southern farmers transitioned from shipping their cotton to New England to processing it here in the Upstate into finished goods.  Soon Greenville was dubbed the “Textile Capital of the World”.  In about a twenty-year span, sixteen cotton mills were built within three miles of downtown Greenville, including the Brandon Mill, home of the Greenville Center for Creative Arts, and the Woodside Mill pictured here.

Woodside Mill by Mark Mulfinger

I am struggling with this challenge, but I'm sketching away trying to develop an idea.  As much as I want to incorporate the water tower or the smokestack.   I am using the windows in the photo as my main inspiration.

Since, I need to finish this soon, I'm declaring this my One Monthly Goal for May and linking to Elm Street Quilts


June 14, 2019

South Rim + Pantone Quilt Entry

I've watched the Pantone Quilt Challenge from the sidelines for several years now and decided this year I would participate.

The 2019 Pantone Color of the Year is Living Coral.  I even purchased the swatch from Pantone.


I don't know how many 1/4 yd cuts of coral fabric I purchased from Stash Fabrics, just looking for the right matches.  Their interactive design wall was so helpful.


I mixed many prints and solids together.  I even cut many of the prints on an angle to match the tumblers.


Quilting took longer than I expected as I tried to match the thread with each fabric which meant burying endless thread tails.


Photographing was not easy.  I found this wall of coral and took my husband as protection.  He even held the quilt for the me, which is rare.


I'm entering South Rim in the Quilt category of the 2019 Pantone Quilt Challenge.

Quilt Stats

Title:  South Rim
Size: 56" x 64"
Category: Quilt
Country: USA

See the other Pantone Living Color entries at Bryan House Quilts and No Hats in the House.


Persimmon Persuasion + Pantone Just-the-top Entry

This is the story of a quilt backing that became a quilt top.  I originally pieced enlarged tumbler blocks to be the backing of my Pantone Quilt Challenge, South Rim.   But, my husband said, "Who's going to see that on the back?  Just go and buy some fabric for a backing."  So I did.


The name was inspired by the fabric I thought matched the Pantone Living Coral swatch the best, Tula Pink's Essential Solid in Persimmon.

The other fabrics are Canyon by Kate Spain, Kona Peach, a print from Rhonda Ruth by Elizabeth Hartman, and an Art Gallery print.


When I was taking photos in the back yard, I managed to catch this bee on the hydrangea.


I'm entering Persimmon Persuasion in Just-the-top category of the 2019 Pantone Quilt Challenge.

Quilt Stats

Title:  Persimmon Persuasion
Size: 61" x 69"
Category: Just-the-top
Country: USA

See the other Pantone Living Color entries at Bryan House Quilts and No Hats in the House.


August 31, 2018

EQ Design Challenge ➕ Button Plus

I read about EQ's design challenge using Fandangle earlier this month and downloaded the free fabric immediately.  Don't you just love FREE fabric?

And, while I didn't design a quilt specifically for the challenge, I decided to play around with the Fandangle fabrics in EQ.

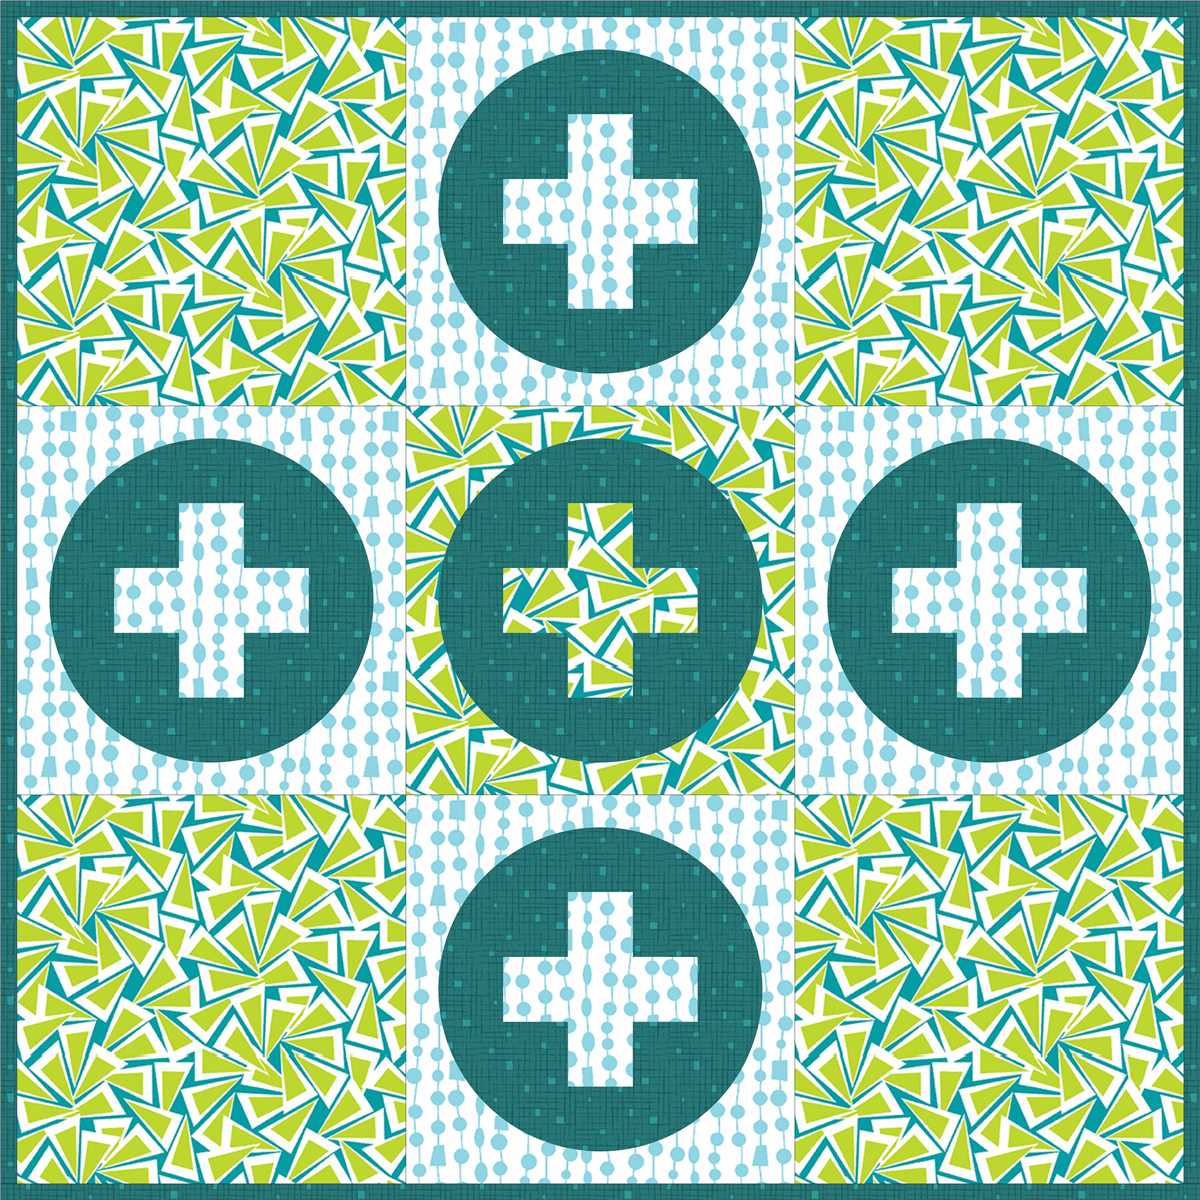
Just for fun, this is the mini quilt design I made for the the Fandangle Blog Hop using the applique pattern from Modern Plus Sign Quilts, Cute as a Button.


And, this is the actual mini quilt.  I do believe the scale is identical.  There are more photos in my post here for the Fandangle Blog Hop. 


I almost used this version where the background of the center square was the beaded curtain print also.  I ended up using triangle trinkets since there was still good contrast with the button applique from confetti crosshatch in teal.


The deadline to enter your EQ design rendered in Fandangle is today.  There's still time...all you need to do is design a quilt in EQ8, EQ7, EQStitch or EQ Mini and follow a couple of other rules.  All the details are in the link-up post found here.  You could possibly win the fabric to make your design.


April 20, 2018

Research Triangle ~ Curated Quilts Mini Triangle Challenge

I cut this one a little close by entering right at midnight on April 1st, the deadline to enter the Triangle Mini Quilt Challenge sponsored by Curated Quilts.  I was hand sewing down binding as fast as I could and took this photo at 11:39 pm.


I learned about the triangle challenge by picking up a postcard in Curated Quilts' booth where I met sweet Amy Ellis in person.


The first challenge I encountered was not having fabrics with those colors.  In my stash, I had Cotton Couture in Spa and Pluto that matched, but that was it.  I was done with Pluto from making this quilt.

Using the Michael Miller Cotton Couture color card, I picked out Sun and Orchid that matched and ordered on line.


Now to come up with an idea.  I started with some rough sketches on graph paper.  And, I'm even thinking about quilting ideas at the same time. 


Nothing developed there so I turned to a 'triangle' search on the internet.  I kept seeing the same image over and over, an equilateral triangle in a square, and thought I could accomplish it in a day.


This illustration is by Jim Wilson, a mathematics professor from the University of Georgia.  When I emailed him to ask permission to use his illustration, turns out, his daughter, Mary Kerr, is an accomplished quilter and certified quilt appraiser.

When it came to piecing, I cut out the equilateral triangle from Cotton Couture Spa using this 60° degree ruler (affiliate link).  For the background pieces cut from Orchid, I used the same ruler cut out another triangle which I discarded.  This way, the triangle and background pieces were all on grain.  I know, I'm crazy like that.

I'm also auditioning binding, a Michael Miller print, Candy Pointillism.


Because of all the bias edges, I pieced the triangle using my walking foot.  As a matter of fact, the entire quilt was pieced, quilted and bound using the walking foot, except for the hand sewing of the binding.


Now to quilt it.  That was another challenge.  I decided on simple walking foot quilting.  Well, the quilting was simple but the marking took some careful measuring to insure the lines would cross precisely.

Aurifil 2588 Light Magenta matched the Cotton Couture Orchid perfectly.  And, if you look closely you can see where I have marked some lines with the a hera maker.


For the most part, the intersections aligned.


I used Cotton Couture in Sun for the binding and despite my best efforts, I ended up with two joins within two inches of each other.  And, no surprise, it's a bias binding.


As small as this quilt is, 12" x 12", I still had to piece the backing.  I was using up fabric from another challenge, the Michael Miller Spring Cotton Couture challenge.  Members of the MQG can read all about After Dinner Mints here.


Here, I'm about to unsew part of the binding so I can tuck the label inside the binding.


Keeping with the triangle theme, I made the label into a triangle which I quickly added before shipping Research Triangle off to Curated Quilts.  I'm excited it will appear in the mini quilt gallery of Issue 04.

The Research Triangle Park in neighboring, North Carolina, inspired the name of my quilt because I certainly did a little research on triangles to make this mini.

Quilt Stats
  • Finished size: 12" x 12" 
  • Pattern: equilateral triangle in a square
  • Fabrics: Michael Miller Cotton Couture in Spa, Orchid and Sun
  • Thread: Aurifil 50 wt. in Light Turquoise 5006 for piecing, Light Magenta 2588 and Medium Butter 2130 for hand sewing the binding. 
  • Quilting design: triangle grid 
  • Batting: 100% Cotton Warm & White by the Warm Company
  • Completed: April 1, 2018

My mini, Off the Grid appeared in Issue 02 of Curated Quilts and you can see it here and here.


Linking to...