Showing posts with label One Monthly Goal. Show all posts

October 7, 2020

A Quilt Label + One Monthly Goal

I finished Metropolis, my re-purposed challenge quilt for the Greenville MQG, at the end of July.  I ran out of steam and never made a quilt label for it.  

Metropolis was made entirely from men's recycled chambray shirts, well, except for the backing.  So, I had this idea of using a pocket for the label.  I carefully unstitched the pocket from a shirt and saved it.  

I'm going to give hand embroidery a try on the quilt label which means this one will will not be as detailed as most handwritten quilt labels.


This will be my One Monthly Goal for October and linking to Elm Street Quilts.  


May 31, 2020

A Photo Challenge Finish: Decades

The mini quilt made for the Photo to Textile Challenge, aka Mill Challenge, is finished.  You can read all about the rules and see the inspiration photo in this post.  I'm calling it Decades.


I thought making a 15" x 15" mini quilt would not be that difficult.  Oh, I would be wrong.  This was the original photo inspiration of the Woodside Mill as it was back in January.  You can see, at some point, the windows had been bricked in.


And, this is what the mill looked like back in March.  You can see the perspective is almost the same as the original photo.  Construction in progress as the mill is being repurposed into housing.  I started to use the water tower or the smoke stack as features in my quilt but ended up being inspired by the windows.  


I took the photo above and cropped out almost everything but the windows.  


Next, I skewed the photo as much as possible to change the perspective. I'm focusing on the row of windows second from the top.

  
I then flipped the image to enable me to use the light box to transfer the windows to fusible web.  My only problem here is that there are only 11 windows and I need 12, one for each decade the building had been in existence.  I took the last window, resized it and added it to the end.  


After drawing the windows onto the the fusible web, I carefully cut out the windows. 

  
I then fused the window fabrics to the building.  Technically, this would be reverse applique.  I did not want to fuse the window fabric on top of the building because I wanted them to recede as much as possible.

The mill was built in 1902 and closed in 1984.  I used the required challenge fabric Kona Grasshopper in the windows to represent each decade the mill was fully operational.  Gray was used for the decade the mill closed.  For two decades it was totally dark and now with the revitalization going on, there's new light in the last window. 


Can you see that each window was appliqued in two different grays?  I used a darker Aurifil to create shadowing on the right side of each window and later wished I had used black for more contrast.  I used a wider zigzag satin stitch on the largest winder and gradually reduced the width of the zigzag as the windows became smaller. 


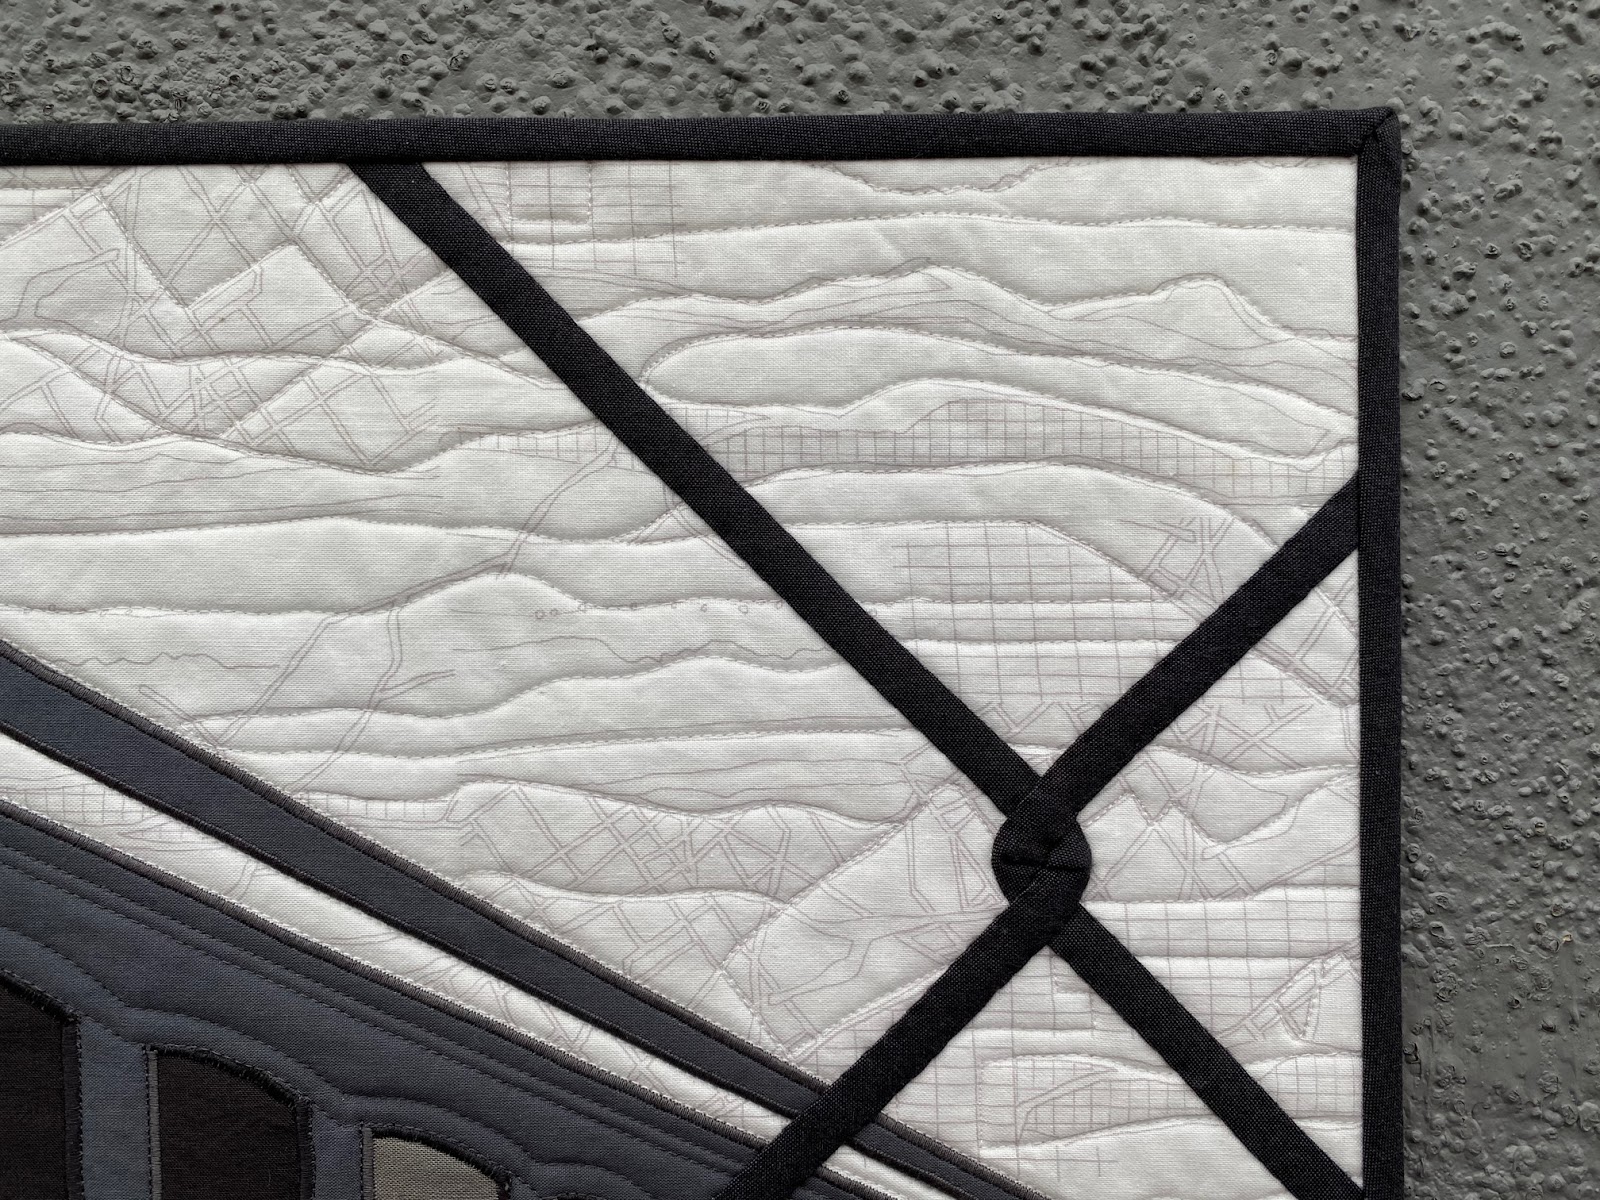
After I finished the applique, I thought the quilt needed something else.  There was too much negative space.  I looked back a the photos and found this one with the chain link fence as part of the photo.  Could I really effectively add chain link fencing over the top?  


Needing a better reference, I took this photo of the gate at the bottom of the driveway.  Depending on the angle, notice the color variation in light to dark.


I used two different fabrics for the fencing.  One was a cross weave, I think a peppered cotton and the lighter fabric was a recycled men's chambray shirt.


I added some french knots to the background fabric.


I added a bias binding and because of the color changes, there are four seams in the binding.  Because of the small size, a couple of the joins were a little tight.


One one of the trips out to the Woodside mill, I took a photo of the old signage still in place.


Woodside Mill was placed on the National Register of Historic Places in 1987, three years after it closed.  I'm excited to see the revitalization taking place. 


Although it took months to decide what to do, I'm pleased with the results.


My mill challenge quilt and eight others are included in the Modern Design Lab Invitational Online Gallery from June 5th to July 29th.   

The quilts can be viewed in person by appointment at the Greenville Center for Creative Arts in Greenville, SC, starting June 17th and running through July 29, 2020.   

Since making the Mill Challenge was my  One Monthly Goal for May, I'll be linking with Patty at Elm Street Quilts.  You can see all the May OMG finishes right here.

And, linking to TGIFF - Thank Goodness It's Finished Friday hosted Quilting Patchwork Applique


May 7, 2020

A Photo Challenge

For short, I've been referring to to this challenge as the Mill Challenge.  It is challenge issued by the Modern Design Lab, a group of modern quilters who encourage each other to become better artists and designers.

Photo to Textile Challenge - Guidelines

Objective – Create a small quilt using the Woodside Mill photo as inspiration.

Size – Quilt should finish 15” x 15”.

Color Palette – Any shades of white, gray and black can be used in desired amounts along with the Kona Grasshopper.

Fabrics – Kona Solid in Grasshopper must be included in some way.  Any other solids and prints are welcome keeping the chosen color palette in mind.

Construction and Quilting – Any construction techniques may be used as long as the quilt has two fabric layers with batting sandwiched between and joined together with stitching by hand and/or machine. 


The group collectively decided on which green to use,  Kona Grasshopper. 


Background

The textile boom of Greenville (South Carolina) began around 1880 to 1890 when southern farmers transitioned from shipping their cotton to New England to processing it here in the Upstate into finished goods.  Soon Greenville was dubbed the “Textile Capital of the World”.  In about a twenty-year span, sixteen cotton mills were built within three miles of downtown Greenville, including the Brandon Mill, home of the Greenville Center for Creative Arts, and the Woodside Mill pictured here.

Woodside Mill by Mark Mulfinger

I am struggling with this challenge, but I'm sketching away trying to develop an idea.  As much as I want to incorporate the water tower or the smokestack.   I am using the windows in the photo as my main inspiration.

Since, I need to finish this soon, I'm declaring this my One Monthly Goal for May and linking to Elm Street Quilts


April 30, 2020

Bunny Treat Bags

I saw these bunny treat bags some time ago and wanted to make them as gifts for Easter and include a little treat inside.  I was almost hopping with joy at how cute they turned out. 


Essex linen and two Carolyn Friedlander Euclid prints were used for the outer fabric.  And, for the lining fabric I used recycled fabrics from men's chambray shirts.  The pastel blue, yellow and pink paired well with the Essex. 


It had been a long time since I had done any embroidery, but it went quickly as the eyes were just two french knots.  I don't know the name of stitch for the nose but it was easy to do as well.  I also used Aurifil's Cotton Floss for the first time. 


Here's what the Bunny Treat Bags look like untied.


The Bunny Treat Bag free pattern and tutorial can be found here at Stitched by Crystal.  I did omit the pom pom tail without subtracting from the cuteness factor too much! 

 
I think my great niece and nephews and co-worker's child were all thrilled with the Bunny Treat Bags which were finished just in time for Easter. 

Since making the Bunny Treat Bags was my April One Monthly Goal,  I'll be linking with Patty at Elm Street Quilts.  You can see all the April OMG finishes right here


January 31, 2020

Jelly Roll Twist Quilt Finished

My One Monthly Goal (OMG) for January 2020 was to complete the Jelly Roll Twist quilt I started using the leftover strips from making the Jelly Glazed Hearts Tablerunner.  I completed it, but it was down to the wire.


Besides January being filled with yearend bookkeeping and issuing W2s and 1099s, I could not decide how to quilt it.  It sat on my design wall for a couple of weeks before I finally came up with a plan. The idea came directly from the Quilters Planner, week of January 19th.


After having a recent disaster with spay baste, I decided to secure the layers with safety pins.  I first stitched in the ditch around all the blocks using the walking foot.  You can see the block outlines here on the back a little better.


Then, I switched to free motion and quilted a grid of some straight-ish and wavy lines throwing in a loop every now and then.  There are 4 lines in each direction per block so I basically quilted down the middle of each jellyroll strip.  Since there are 30 blocks, that makes 20 vertical and 24 horizontal
free-motion quilting lines.


My quilt finishes at about 43" x 51" so that meant I had to piece the backing.  I really liked the print, Water Color Dots in graphite and used it for the backing along with the the same print in Bubble Gum.


For the binding, I decided to sew it totally by machine.  I sewed the binding to back of the quilt first, then brought it around to front and top-stitched in place using the walking foot for both applications. 

I don't know if you can tell or not, but when I turn the corners, I always backstitch right before turning the corner and then afterwards as well.  I feel better with a little extra security.  


From the back, the stitching line is visible as it is about 1/8" away from the binding edge.  But with this method of topstitching from the front, I'm not having to stitch in the ditch on the front while blindly stitching the binding in place on the back.  

For the top thread, I use thread that matches the binding.  But in the bobbin, I use thread that matches the backing fabric.  In this case it's one of my favs, Aurifil 2600 Dove Grey.

  
The Jelly Roll Twist quilt was fun to make and great for using up leftover strips and charm pack squares.  The pattern call for using a charm pack of solid squares, but I used a half yard and cut my own 5" squares.  You can find the Jelly Roll Twist pattern here at the Fat Quarter Shop.


I'll be gifting this quilt to the foster child of my endodontist who met me after hours on a Saturday night when I was having a bit of trouble with a retreatment of a root canal.  It's all better now!

I completed this just in time to link up to the January One Monthly Goal Finish Link-Up at Elm Street Quilts.

And, linking this finish to:
Beauties Pageant 67 at From Bolt to Beauty
Can I get a Whoop Whoop at Confessions of a Fabric Addict


January 6, 2020

Jelly Roll Twist Progress

Happy New Years everyone!  I hope your 2020 is off to a great start!

I wanted to show you my progress on the Jelly Roll Twist quilt.  I decided to leave the Kona Splash in as I discussed here in this post.  The blocks are now all sewn together and the top is complete. 


I actually made a couple of minor changes  I thought there was too much of the lightest pink and added in the a little more of the darker salmony pink. 

And I realized there was too much of the brightest green in the lower left hand corner and I replaced one with another strip set.  I've circled the changes here.  It probably didn't make that much difference, but I happy with the little changes. 


This was the original layout.


The quilt finished 43" wide so you you know what that means...one width of fabric isn't wide enough for the backing.  I ended up buying a little more of the salmony pink and inserted a couple of pieced strips into the backing. 

I had the hardest time editing these photos.  This looks more peach than the true colors. 


The binding is also pieced and pressed.  I plan to sew it all on by machine. 


Since I didn't get this finished by the end of 2019, I'm making this Jelly Roll Twist quilt my One Monthly Goal for January  

If you need a little motivation to finish a project, check out the One Monthly Goal linkups with Patty at Elm Street Quilts.  There's some fantastic prizes involved. 


October 7, 2018

October One Monthly Goal ~ Butterfly Mini Quilt

I'm sliding in at the last minute to declare my October One Monthly Goal, a mini swap quilt made from butterfly blocks.  One Monthly Goal is hosted by Patty at Elm Street Quilts.

I've made two blocks and need twenty two more for the layout I have in mind.


I've always admired the butterfly quilt made by Rita from Red Pepper Quilts.   She has a butterfly block tutorial here for traditionally piecing the blocks.  I decided to draft paper foundations for a similar butterfly so they could be paper pieced.


And here are the fabrics I'll be using minus the pearl bracelets.


I better get busy, there are more butterflies to take flight!

You can see the other goal declarations in the October One Monthly Goal linkup at Elm Street Quilts.  


October 31, 2017

Path of Totality + Celebration Challenge

My guild celebrated it's 25th anniversary this year and issued a challenge to its members to create a quilt with the theme, CELEBRATION, along with some other rules listed in October's One Monthly Goal.

I decided to commemorate the total solar eclipse which took place on August 21, 2017.  The path of totality crossed the entire state of South Carolina from the mountains to the sea.  It is estimated that 1.6 million traveled to or within the state to see the total solar eclipse according to this article by the State.


I found the inspiration I needed when I opened the OnPoint newsletter on day from the American Quilter's Society and a free pattern, Luna, by Betsey Langford was included.  I immediately emailed them was granted permission to use the pattern or a variation in my design.  

There was serious pattern matching to piece the partial medallions in order to make a circle for the total eclipse.  I was lucky, no seam ripper was required, it came out perfect the first try.


There was a lot of measuring for the placement of the partial eclipses before fusing and appliqueing in place.  Karen Kay Buckley's Bigger Perfect Circles (affiliate link) aided in placement.


A partial eclipse appliqued in place before adding the darker fabric.  


The pattern was much too small to fill the space of the quilt interior so I added a super-size applique of the state of South Carolina.  It was nice using Soft Fuse Premium (affiliate link) fusible web as it comes in an 18" wide roll and is light weight so quilting right over it was a breeze.

I had the idea of adding a sheer fabric to create the path of totality but where would I find such fabric.  I found the perfect fabric to plunge South Carolina in total darkness at Hobby Lobby one day.  I do not remember what it was called but I remember it being 100% polyester. 

I needed to added a border(s) to bring it up the required size of 35" x 35".  Here, I'm auditioning a solid black with Essex metallic linen in fog I purchased on etsy.


I ended up with a 3/8" inner black border and a  1 3/4" outer border.  And now the usual dilemma, how to quilt it?


Since I couldn't solicit quilting ideas from my own guild members because it was a secret challenge, I consulted with and sent in-progress photos to more distant friends,  Linda, Connie and Patty for feedback.  Thank you all!  

I ended up quilting concentric circles around the center total eclipse.  At first, I was going to to quilt right over the black inner border, but in the end, I thought it might be too distracting and ended up stopping and buried all the threads.  Although time consuming, it was the right decision.

Here, Path of Totality is blocked and drying.


Once quilted, I thought the bottom left corner was a little empty.  The bottom right corner would have the sheer applied so if would be fine.  I had the idea of adding the palmetto tree and crescent like The Palmetto State's flag.  It was much too detailed, so I simplified it and added it after quilting and blocking.


Now the scary part, adding the sheer overlay.  I modified the path slightly as not to interfere with the partial eclipse on the left.  I first used a narrow zigzag to secure the sheer in place on the edges.  I surely did not want the temperamental fabric to fray after adding the bias.  It was a risk as I knew the back would be less than attractive.  But to prevent pulling or shredding of the sheer fabric, I thought that would be best.


I added dark gray bias tape on the outer edges and used black down the center of the path of totality.  I secured the center before adding the bias, again to secure the fabric in place to prevent any shifting.


Here, the bias is sewn in place and a 3/8" binding to match the inner border.  The judge thought it was a good decision as well and expressed that in a comment.  

A lot of thought went in to the making of Path of Totality as I strategically placed the center of the stared medallion over Easley, SC exactly where I live.  


Quilt Stats
  • Finished size: 35 3/8" x 35 3/8" 
  • Pattern: Inspired by Luna by Betsey Langford
  • Fabrics: Background - Sound of the Woods Mottled Ice by James Wiens, licensed by Wild Apple for Robert Kaufman; Essex metallic in fog by Robert Kaufman; Challenge fabric - challenge fabric is the main focus print (style 4590B) from the Starburst collection by Michele D'Amore Designs for Benartex; unknown black solid
  • Thread: Aurifil 50 wt. in Dove Gray 2600; Natural White 2021; Black 2692, and Asphalt 5013 
  • Quilting design: concentric circles and straight lines in the border
  • Batting: 100% Cotton Warm & White by the Warm Company
  • Completed: October 2017

My husband and I went to a nearby church for an unobstructed view and this is the panoramic photograph I snapped during totality.  Ahead of time I had read about birds returning to their nests and the crickets chirping and that's exactly what happened.  It was quite an experience.


Happy to have finished Path of Totality be the deadline of  October 24th, I'm linking my finish to October One Monthly Goal link-up with Patty at Elm Street Quilts and Finish It Up Friday with Crazy Mom Quilts.