May 31, 2020

A Photo Challenge Finish: Decades

The mini quilt made for the Photo to Textile Challenge, aka Mill Challenge, is finished.  You can read all about the rules and see the inspiration photo in this post.  I'm calling it Decades.


I thought making a 15" x 15" mini quilt would not be that difficult.  Oh, I would be wrong.  This was the original photo inspiration of the Woodside Mill as it was back in January.  You can see, at some point, the windows had been bricked in.


And, this is what the mill looked like back in March.  You can see the perspective is almost the same as the original photo.  Construction in progress as the mill is being repurposed into housing.  I started to use the water tower or the smoke stack as features in my quilt but ended up being inspired by the windows.  


I took the photo above and cropped out almost everything but the windows.  


Next, I skewed the photo as much as possible to change the perspective. I'm focusing on the row of windows second from the top.

  
I then flipped the image to enable me to use the light box to transfer the windows to fusible web.  My only problem here is that there are only 11 windows and I need 12, one for each decade the building had been in existence.  I took the last window, resized it and added it to the end.  


After drawing the windows onto the the fusible web, I carefully cut out the windows. 

  
I then fused the window fabrics to the building.  Technically, this would be reverse applique.  I did not want to fuse the window fabric on top of the building because I wanted them to recede as much as possible.

The mill was built in 1902 and closed in 1984.  I used the required challenge fabric Kona Grasshopper in the windows to represent each decade the mill was fully operational.  Gray was used for the decade the mill closed.  For two decades it was totally dark and now with the revitalization going on, there's new light in the last window. 


Can you see that each window was appliqued in two different grays?  I used a darker Aurifil to create shadowing on the right side of each window and later wished I had used black for more contrast.  I used a wider zigzag satin stitch on the largest winder and gradually reduced the width of the zigzag as the windows became smaller. 


After I finished the applique, I thought the quilt needed something else.  There was too much negative space.  I looked back a the photos and found this one with the chain link fence as part of the photo.  Could I really effectively add chain link fencing over the top?  


Needing a better reference, I took this photo of the gate at the bottom of the driveway.  Depending on the angle, notice the color variation in light to dark.


I used two different fabrics for the fencing.  One was a cross weave, I think a peppered cotton and the lighter fabric was a recycled men's chambray shirt.


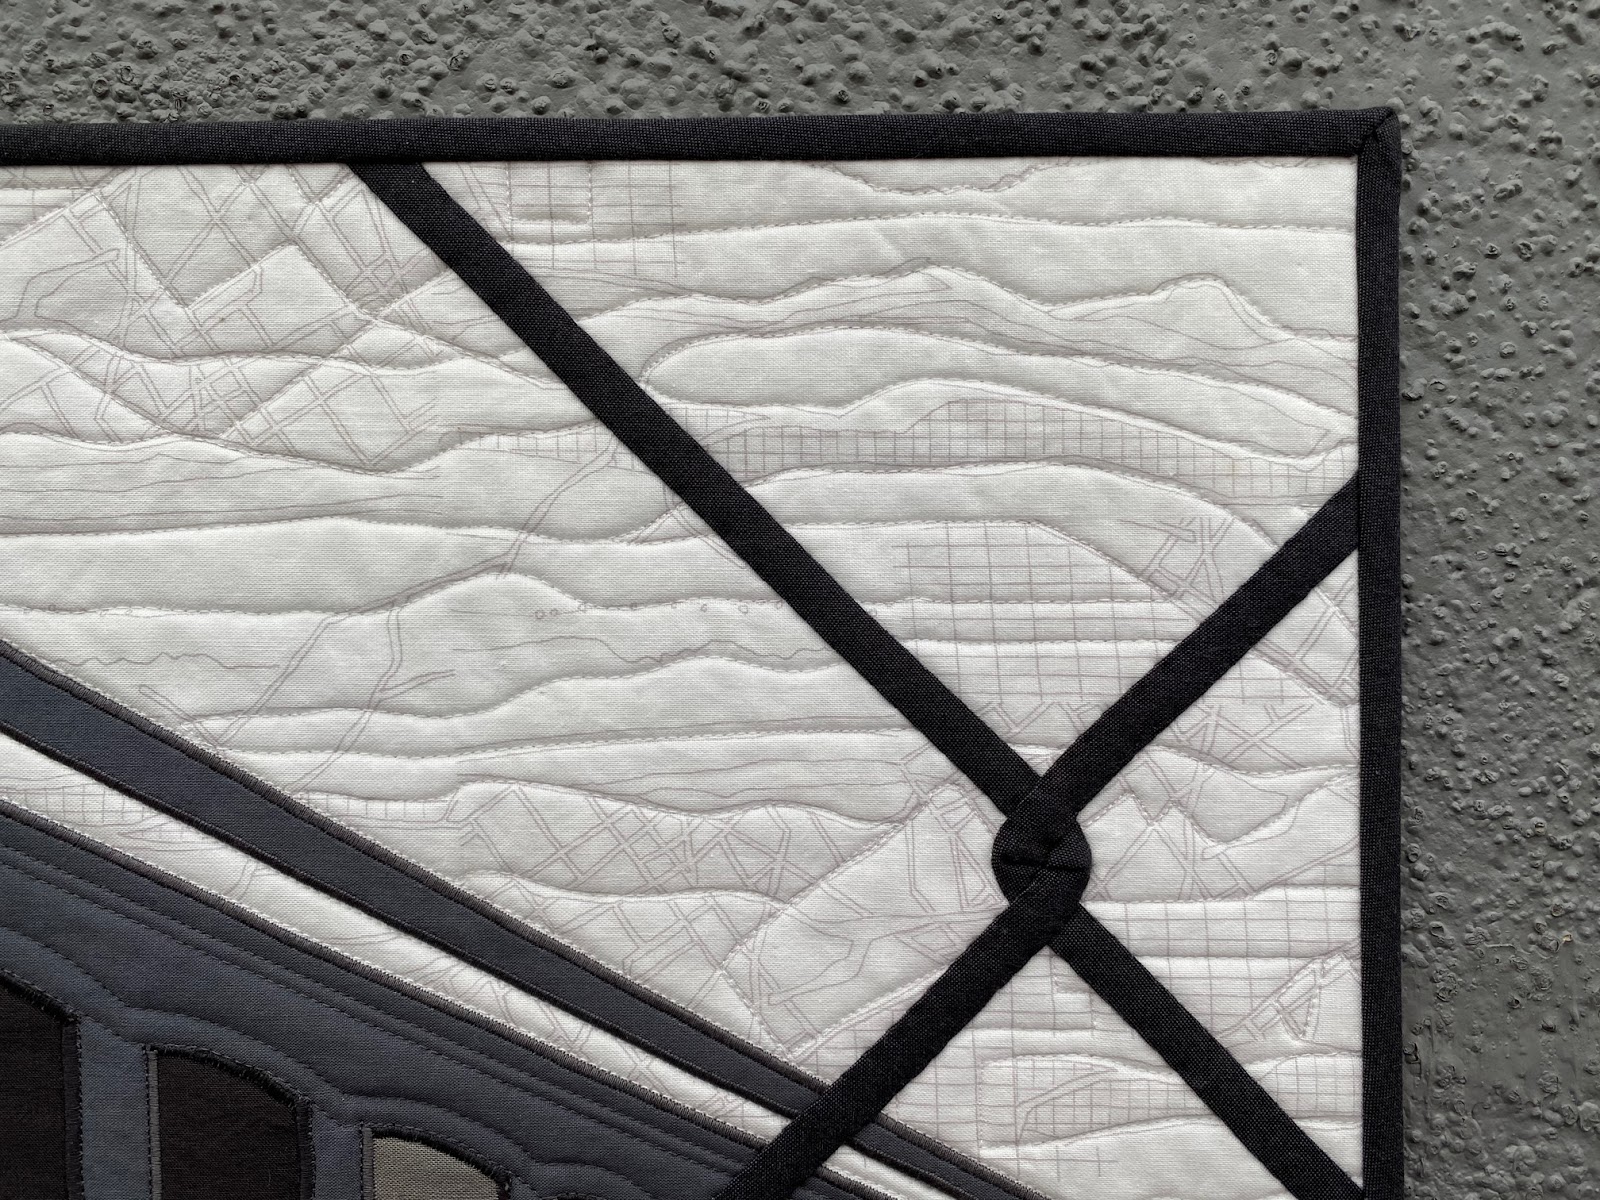
I added some french knots to the background fabric.


I added a bias binding and because of the color changes, there are four seams in the binding.  Because of the small size, a couple of the joins were a little tight.


One one of the trips out to the Woodside mill, I took a photo of the old signage still in place.


Woodside Mill was placed on the National Register of Historic Places in 1987, three years after it closed.  I'm excited to see the revitalization taking place. 


Although it took months to decide what to do, I'm pleased with the results.


My mill challenge quilt and eight others are included in the Modern Design Lab Invitational Online Gallery from June 5th to July 29th.   

The quilts can be viewed in person by appointment at the Greenville Center for Creative Arts in Greenville, SC, starting June 17th and running through July 29, 2020.   

Since making the Mill Challenge was my  One Monthly Goal for May, I'll be linking with Patty at Elm Street Quilts.  You can see all the May OMG finishes right here.

And, linking to TGIFF - Thank Goodness It's Finished Friday hosted Quilting Patchwork Applique


In Blooms #9 + Iris

This is another transplant from my Grandmama's garden, an iris with violet purple and lavender. 

Helen Collingwood Iris
I didn't even know its name until I researched when writing this post.  It's a Helen Collingwood, hybridized by Kenneth Smith in 1949. 

Helen Collingwood Iris
Happy Sunday,


May 24, 2020

In Bloom #8 + Grandmama’s Phlox

Somewhere in between the daffodils and iris and the later blooming daylilies, I can count on the Phlox that was transplanted from my Grandmama's garden in Mississippi to mine in South Carolina.  I talk more about her influence in this post.


I do not know the variety but this one would be considered a short phlox since it only reaches about 12" or so in height.  My Grandmama had it as long as I can remember, so I just call it old-timey.


Happy Sunday,


May 23, 2020

Cutting Up My Kona Color Card + Tutorial

I finally did it...I cut up my Kona Cotton Solids Color Card.  There are many ways to store the color swatches after cutting them apart, but I chose to organize them in a 3-ring binder using 35mm slide preserver sheets.


Here are the swatches tucked into the 2" x 2" slots which I labeled so I could put each swatch back in its proper place. 


My Kona Cotton Color Card contained 340 colors so it wasn't the latest edition with now 366 colors.
Tip: Before I stated cutting away at my color card, I took photos of the each sheet in color order should I get confused along the way. 


I have listed each step individually, but I actually did some steps simultaneously, finding a rhythm along the way.

Here's how I did it...

1.  Take a photo or scan each sheet for reference.
2.  Cut apart the the color card on the folds into 6 individual sheets.
3.  Create and print all the labels.
4.  Working with one sheet at a time:
      a)  Cut the card into strips then into the individual swatches. 
      b)  Affix the labels to the slots on the slide preserver sheets.  Refer to photos or scans for color order.
      c)  Insert the swatches into the labeled slots.
 
I will link to the supplies used at the bottom of this post.  They are affiliate links, but you can find most of what you need at an office supply store.

Create and Print the Labels


Before I cut up the color card, I first created the labels for each color so they would be printed in color order.  I used a Dymo label printer (which my office has) with their included software.  I only had to purchase the extra small labels.

This was the most time consuming part of the project, but, at lunch over several days, I printed one Kona page at at time.  


Cut up the Kona Color Card


I used a paper trimmer to first cut the sheets apart on the folds.  Then I cut each row of swatches into strips. 


I was careful to cut right along the top edge of each swatch row not cutting into the fabric.


You will end up with strips of swatches.


Next, cut the individual swatches apart using craft or paper scissors.


Note: Some of the color numbers and names did not align with the swatches.  When this happened, I immediately wrote the corresponding number on the swatch.


Affix the Labels and Insert the Swatches


Next, I affixed the labels to the slots on the protector sheets and inserted the swatches.  There are 20 slots per page, so a 25 pack of protectors will yield 500 slots. 

 
I added a single sheet of white copy paper between each preserver sheet so the other colors in subsequent sheets would not interfere.

I can easily reach inside the slots with two fingers and retrieve the swatches. 


Proudly display on your bookshelf or cube


There were extra graphics I could use to include along the spine of the 3-ring binder.  


Links to Supplies

Kona Cotton Solids Color Card (365) at the Fat Quarter Shop

DYMO Label Printer | LabelWriter 450 Direct Thermal Label Printer

DYMO Authentic LW Extra-Small Multi-purpose Labels, White, 1/2'' x 1''

Printfile 35mm Slides 10 Mil 25 Pack (20 per page)  These are extra heavyweight pages.

Avery Heavy Duty View 3 Ring Binder, 1" One Touch EZD Ring

Considerations


You may want to leave open slots between color families so you can easily include new colors as Robert Kaufman adds more Kona Cotton Solids to the collection.  Or, you can simply add more slide preservers sheets as necessary.  That's what I plan to do.  

While I love the idea of displaying the Kona swatches on the wall with velcro (as Cindy at Hyacinth Quilt Designs showed here) or magnets (as Andy at A Bright corner showed here), my sewing room gets a lot of sunlight and I didn't want the swatches to fade over time.

Some prefer to store the swatches on rings or perhaps a clear storage container

However you decide to store your swatches, I love pulling swatches to see how they interact with other fabrics.


If you have any questions, feel free to email me or post them in the comments below.  

Have you cut up your Kona Color Card?  


May 17, 2020

In Bloom #7 + They Won't Die

There are new annuals waiting in the shade to replace the pansies and violas in the planters on the front porch.


While the foliage is fading, they keep on blooming.  With the warmer temperatures coming, I look to replace them this week. 


Happy Sunday,


May 10, 2020

In Bloom #6 + Tulip Poplar Blooms

Everything is changing so quickly.  You may remember the new foliage of the Tulip Poplar just a few short weeks ago.  Now the Tulip Poplars are in full bloom and the delicate flowers will not last very long.  All it takes is a rain shower and a little wind and they are gone just as fast they came. 


I am fond of the peachy orange and green combination.  I did have to get out the ladder, but it was worth to snap this picture of the blooms.


Happy Mother's Day to all of you mothers out there!

May 7, 2020

A Photo Challenge

For short, I've been referring to to this challenge as the Mill Challenge.  It is challenge issued by the Modern Design Lab, a group of modern quilters who encourage each other to become better artists and designers.

Photo to Textile Challenge - Guidelines

Objective – Create a small quilt using the Woodside Mill photo as inspiration.

Size – Quilt should finish 15” x 15”.

Color Palette – Any shades of white, gray and black can be used in desired amounts along with the Kona Grasshopper.

Fabrics – Kona Solid in Grasshopper must be included in some way.  Any other solids and prints are welcome keeping the chosen color palette in mind.

Construction and Quilting – Any construction techniques may be used as long as the quilt has two fabric layers with batting sandwiched between and joined together with stitching by hand and/or machine. 


The group collectively decided on which green to use,  Kona Grasshopper. 


Background

The textile boom of Greenville (South Carolina) began around 1880 to 1890 when southern farmers transitioned from shipping their cotton to New England to processing it here in the Upstate into finished goods.  Soon Greenville was dubbed the “Textile Capital of the World”.  In about a twenty-year span, sixteen cotton mills were built within three miles of downtown Greenville, including the Brandon Mill, home of the Greenville Center for Creative Arts, and the Woodside Mill pictured here.

Woodside Mill by Mark Mulfinger

I am struggling with this challenge, but I'm sketching away trying to develop an idea.  As much as I want to incorporate the water tower or the smokestack.   I am using the windows in the photo as my main inspiration.

Since, I need to finish this soon, I'm declaring this my One Monthly Goal for May and linking to Elm Street Quilts


May 3, 2020

In Bloom #5 + Phalaenopis Orchid

This Phalaenopis orchid was gifted to me last year in mid April and was in full bloom at the time.  Once the flowers faded away, it sat in my kitchen window all year,  I watered it once a week.  

Sometime in December or January a spike started to appear.  Soon after buds appeared on the spike and eventually it started blooming  Here it is May 3rd and it's still in full bloom. 


Here I am counting blooms again.  I know very little about orchids and am not familiar with how many flowers are to appear.  

This orchid has twelve buds and all but one have bloomed.  Eleven out of twelve isn't bad.


And, one more.  Even the blooms from the backside are pretty.  I hope I can keep this blooming for years to come.